
The Complete Guide to Tying a Tie: From Four-in-Hand to Full Windsor
We have all been there, and if you say you haven’t, you are lying to yourself and possibly to me. You’re standing in front of the mirror fifteen minutes before you need to leave, shirt crisp, suit perfect, and in your hands is a beautiful strip of silk that might as well be a quantum physics problem for all the help your brain is currently providing.
You vaguely remember watching a tutorial about this at some point, and the only thing your memory has retained is something about a rabbit going around a tree, which is genuinely not actionable information when you’re already running late and starting to sweat through the shirt you just ironed.
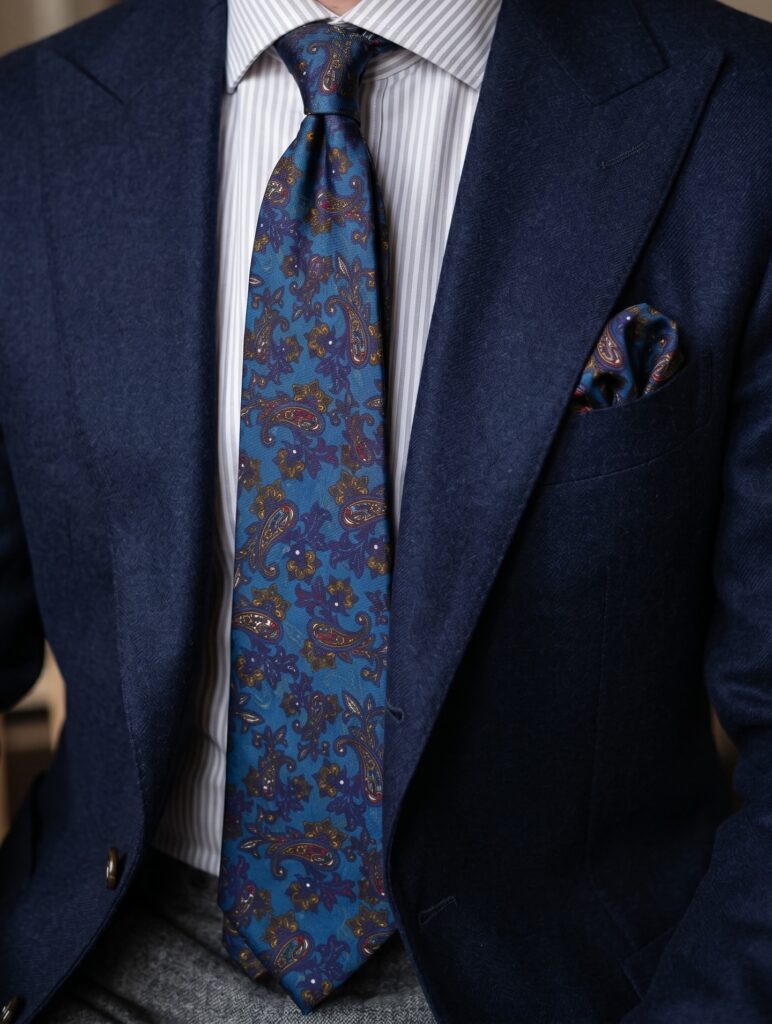
A properly tied tie is the centerpiece of formal menswear, and it frames your face, anchors your collar, and communicates to everyone in the room that you are a person who pays attention to details and has your life in some kind of order.
This guide covers the complete anatomy of a tie, how to choose the right knot for your specific collar and face shape, and step-by-step instructions for the five knots you will actually need in your lifetime, so that the next time you’re standing in front of that mirror, the only thing escalating is your confidence.
Part 1: Tie Anatomy and Preparation
Before we make the first loop, let’s understand the tool we’re working with and set ourselves up for success.
A. Parts of a Tie
- Wide End (Front Blade): The part everyone sees. This is the “active” end in most knots.
- Narrow End (Tail Blade): The thinner end that stays hidden under the wide end.
- Seam / Lining: The internal structure that gives the tie its body.
- Keeper Loop: A small horizontal loop of fabric sewn onto the back of the wide end. Its purpose is to hold the narrow end in place once the tie is tied. Please use it.
- Tipping: The contrasting fabric on the underside of the tie tips.
B. Determining Starting Length (The Golden Rule)
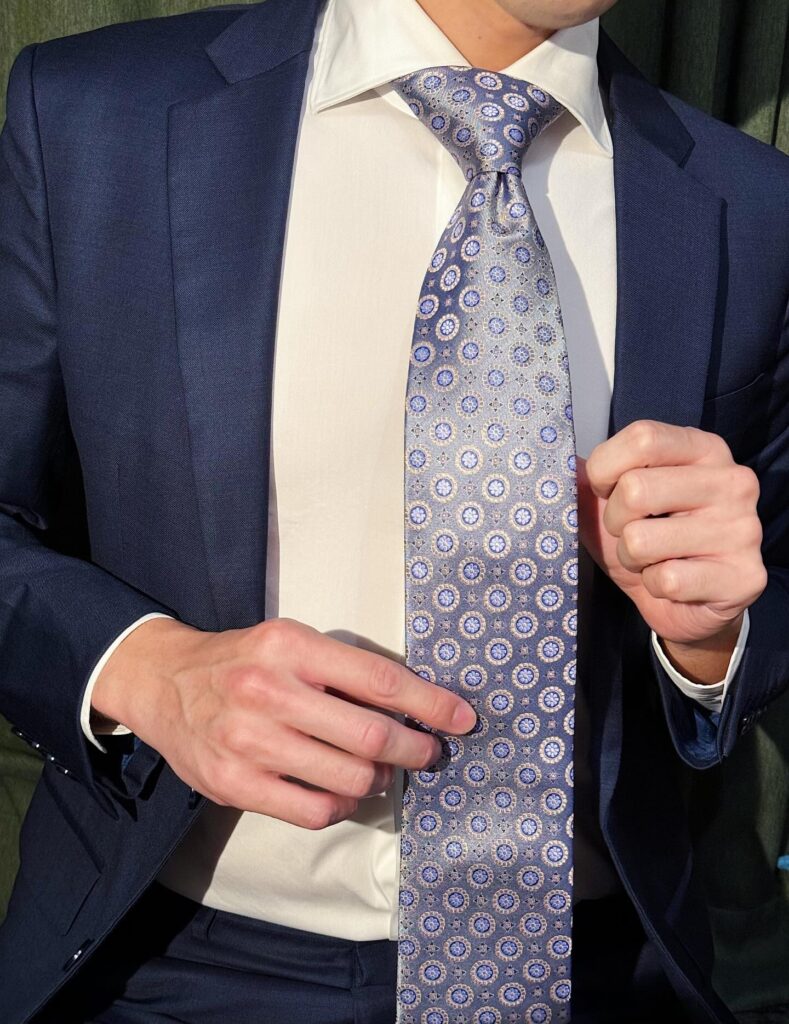
The single most common mistake beginners make is starting with the wide end at the wrong height. There is only one rule you need to memorize. When finished, the tip of the wide end should just graze the top of your belt buckle.
To achieve this, you must adjust your starting position based on the knot you are using.
- Knots that use a LOT of fabric (Full Windsor): The wide end must start significantly lower (near your thigh/hip).
- Knots that use a LITTLE fabric (Four-in-Hand): The wide end starts higher (mid-chest).
C. The Pre-Tie Setup
Before you do anything else, pop your shirt collar up. This gives you 360-degree access to your neck and ensures the knot sits snugly against the collar band rather than getting tangled in the folded-down fabric.




Part 2: Choosing the Right Knot: A Decision Framework
Not all knots are created equal. Wearing a giant Windsor knot with a tiny button-down collar looks like you stuffed a muffin into a keyhole (unfortunately, I’m not kidding). Wearing a tiny Four-in-Hand with a wide spread collar looks like you forgot to finish dressing. Here is how to choose.
A. By Collar Type
- Point Collar / Button-Down: The gap between the collar leaves is narrow. You need a small to medium knot (Four-in-Hand or Simple Knot). These knots fit neatly inside the space without pushing the collar points outward.
- Spread Collar / Cutaway: There is a wide gap between the collar leaves. This space demands a medium to large knot (Half-Windsor or Full Windsor) to fill the void and create visual balance.
- Tab Collar / Pin Collar: These collars have hardware that forces the knot upward. A medium knot (Half-Windsor) works best as it sits cleanly behind the pin.
B. By Face Shape
- Round Face: Avoid wide knots. A Four-in-Hand creates an asymmetrical, slightly elongated shape that helps lengthen the appearance of the face.
- Long / Narrow Face: Avoid long, skinny knots. A Full Windsor adds horizontal bulk, which helps widen and balance the face.
- Square / Angular Face: A Half-Windsor is the perfect middle ground, softening the jawline without adding too much extra width.
C. By Tie Fabric and Thickness
- Thick Silk / Wool / Knit Ties: These are bulky. Stick to Four-in-Hand or Simple Knot. If you try a Windsor with a thick knit tie, you will end up with a knot the size of a tennis ball.
- Thin Silk / Linen / Cotton: These are sleek and lightweight. They can easily support the volume of a Windsor or Pratt knot without looking overstuffed.
Part 3: The Essential Knots: Step-by-Step Instructions
Knot 1: The Four-in-Hand (The Classic Asymmetrical)
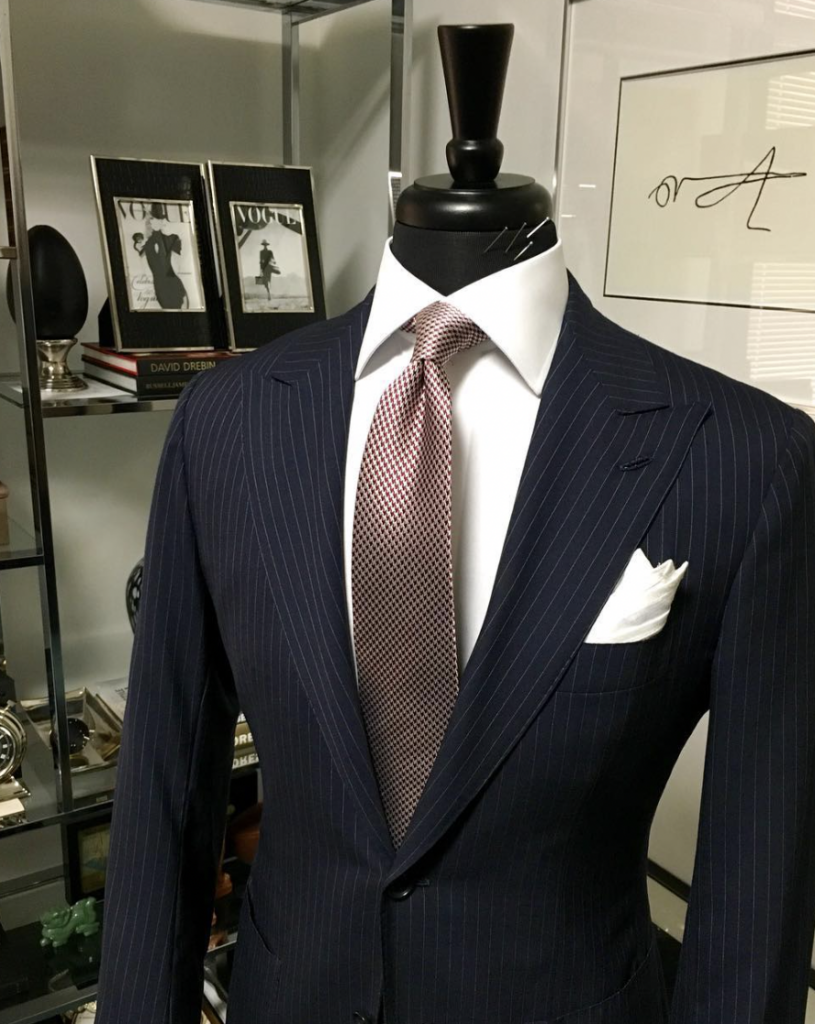
Vibe: Effortless, slightly rebellious, modern professional.
Best For: Button-down collars, narrow spread collars, everyday office wear.
Difficulty: Beginner.
Steps:
- Position: Drape the tie around your neck with the wide end on your right and the narrow end on your left. The wide end should hang roughly 12 inches lower than the narrow end.
- Cross Over: Cross the wide end over the narrow end to the left.
- Cross Under: Bring the wide end under the narrow end to the right.
- Cross Over Again: Bring the wide end over the narrow end to the left. (You are now wrapping the wide end around the narrow end).
- Up Through Neck: Take the wide end and pass it up through the neck loop from underneath (pointing the tip toward your chin).
- Down Through Front: Bring the wide end down through the front loop you just created.
- Tighten: Hold the narrow end steady and slide the knot up toward your collar. Because of the way it is wrapped, this knot will naturally sit slightly off-center or with a tapered shape. Do not try to make it perfectly symmetrical. That asymmetry is the hallmark of this knot.
Knot 2: The Full Windsor (The Power Knot)

Vibe: Formal, authoritative, symmetrical, CEO energy.
Best For: Wide spread collars, cutaway collars, weddings, board meetings.
Difficulty: Intermediate.
Steps:
- Position: Drape the tie around your neck. Wide end on right, narrow end on left. The wide end must hang 15-18 inches lower than the narrow end. (For most men, the tip of the wide end will be near the top of the thigh). This knot eats fabric.
- Cross Over: Cross the wide end over the narrow end.
- Up and Down Left: Bring the wide end up through the neck loop from underneath. Let it fall down the left side of the narrow end.
- Under to Right: Bring the wide end under the narrow end to the right side. (This creates the first “wrap”).
- Up and Down Right: Bring the wide end up through the neck loop from the front (over the top of the neck loop). Let it fall down the right side.
- Across Front: Bring the wide end across the front from right to left. (This covers the previous wraps).
- Final Up: Bring the wide end up through the neck loop one last time.
- Final Down: Bring the wide end down through the front knot layer (the one you just created in step 6).
- Tighten and Shape: Pull the wide end down gently while using your other hand to pinch the sides of the knot. You are aiming for a wide, symmetrical triangle that fills the entire space of your collar.
Knot 3: The Half-Windsor (The Versatile Sweet Spot)
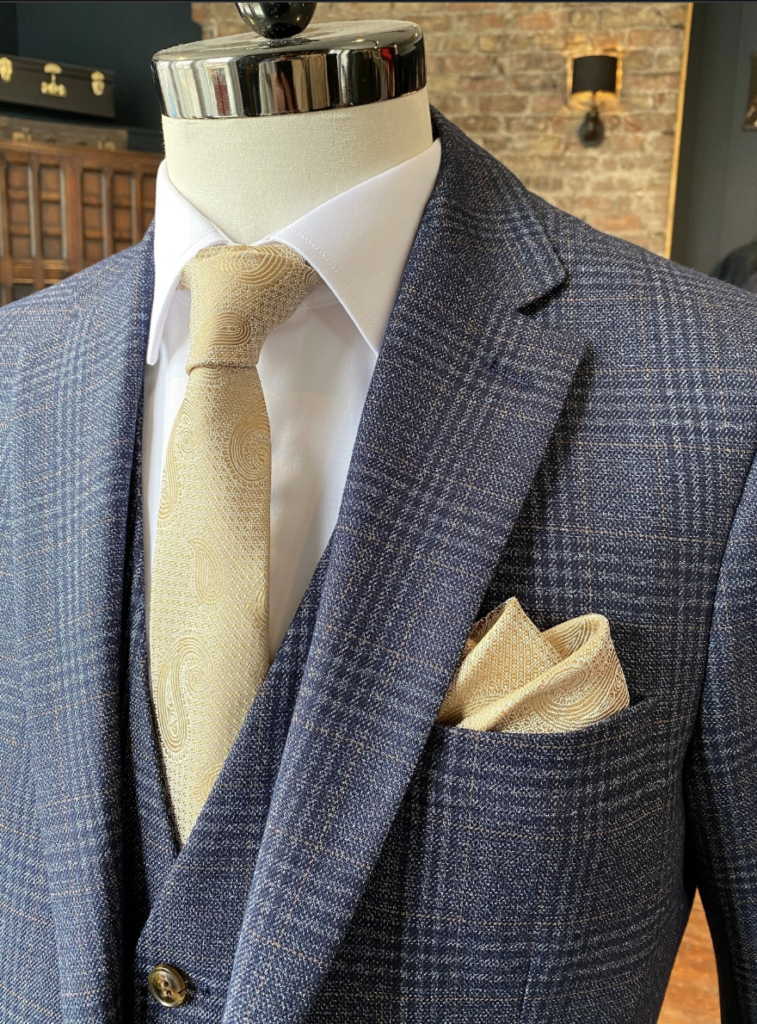
Vibe: Balanced, professional, works for almost any collar.
Best For: Medium spread collars, medium-weight ties. The safe choice when you’re unsure.
Difficulty: Beginner/Intermediate.
Steps:
- Position: Wide end on right, narrow end on left. The wide end is lower by 12-14 inches.
- Cross Over: Wide end crosses over narrow end.
- Under and Up: Bring the wide end under the narrow end and up through the neck loop. Let it fall to the left.
- Across Back: Bring the wide end across the back (behind the narrow end) to the right side.
- Up from Front: Bring the wide end up through the neck loop from the front (over the top).
- Down Through Front: Bring the wide end down through the front knot layer.
- Tighten: Pull down and adjust for a neat, medium-sized triangle. It’s the perfect compromise between the skinny Four-in-Hand and the bulky Full Windsor.
Knot 4: The Simple / Oriental Knot (The Minimalist)
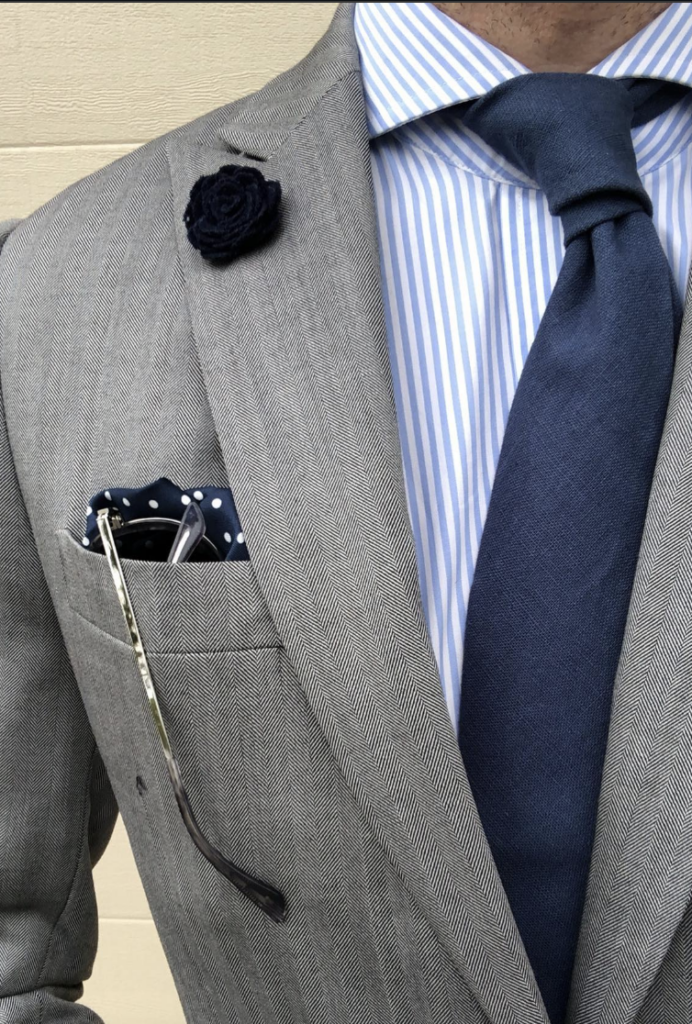
Vibe: Ultra-modern, small, sleek.
Best For: Thick wool or knit ties. Also great for very tall men who find standard ties end up too short.
Difficulty: Easiest.
Steps:
- Position: Wide end on right, narrow end on left. (You can start with the tie right-side out or inside out; it doesn’t affect the final look much).
- Cross Behind: Wide end crosses behind narrow end to the left.
- Cross Over Front: Bring the wide end over the front to the right.
- Up Through Neck: Bring the wide end up through the neck loop from underneath.
- Down Through Front: Bring the wide end down through the front loop.
- Tighten: Pull down. That’s it. Only four moves. It creates the smallest possible knot, which is ideal for the thick texture of a cashmere or wool tie.
Knot 5: The Pratt / Shelby Knot (The Neat Trick)
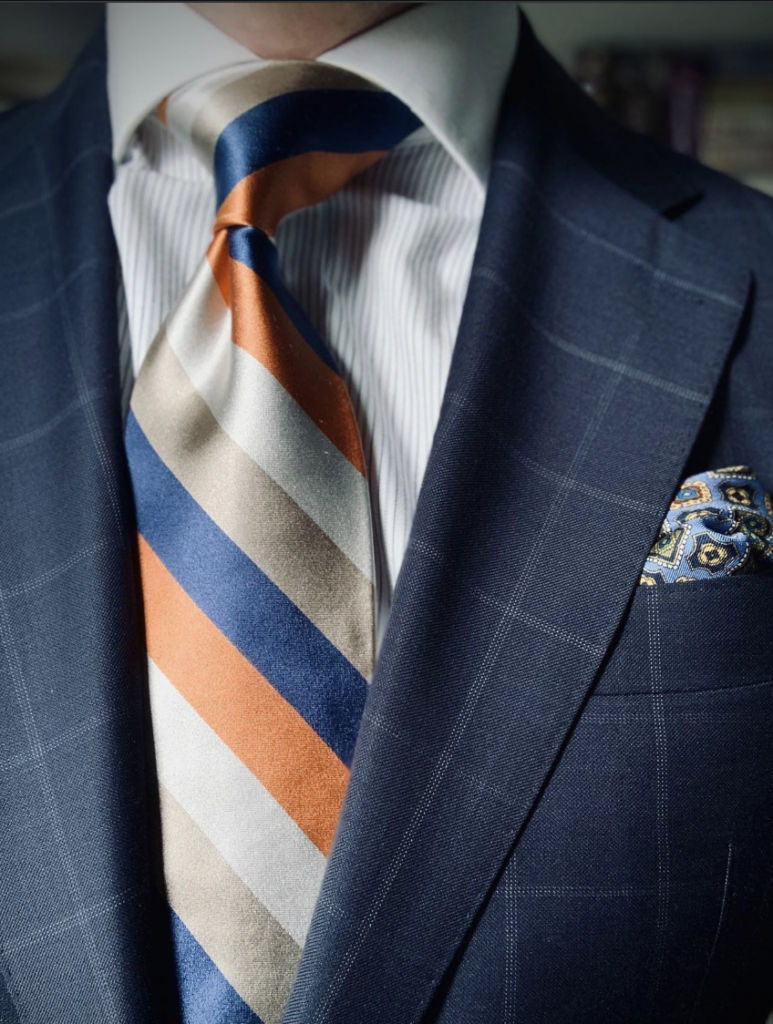
Vibe: Clean, symmetrical, medium size. Great for men with shorter torsos because it doesn’t require the wide end to start extremely low.
Best For: Ties with thinner lining. This knot is unique because it starts inside out.
Difficulty: Beginner (with a trick).
Steps:
- Crucial Start: Drape the tie around your neck with the seam facing OUTWARD (inside out). Wide end on left, narrow end on right.
- Wide end hangs lower.
- Cross Under: Wide end crosses under the narrow end (so the seam is now hidden against your shirt).
- Up Through Neck: Bring the wide end up through the neck loop.
- Down Through Front: Bring the wide end down through the front loop.
- Tighten. The knot naturally wants to form a tidy, dimpled triangle.
Part 4: The Finishing Touches: The Dimple and The Keeper
You have tied the knot. You are not done yet. The difference between looking like you borrowed your dad’s tie and looking like you own the room lies in the final two seconds of adjustment.
A. How to Create the Dimple
Why does it matter? A dimple (that little indentation just below the knot) adds depth and texture. It signals that the tie is made of quality silk and that you are a man who cares about the details.
- Technique: As you pull the wide end down to tighten the final knot, do not flatten the fabric. Place your index finger and thumb just below the knot on the wide end. Gently press the fabric inward toward your neck. This creates a natural crease or fold in the center of the blade. Hold that crease as you slide the knot the last quarter-inch up to your collar.
B. Using the Keeper Loop
Look at the back of the wide end of your tie. See that little loop? That’s not a manufacturing error. Tuck the narrow end of the tie through that loop. This prevents the narrow end from swinging out from behind the wide end when you lean forward to sign a contract or pick up a drink.
C. Collar Down Check
Fold your shirt collar back down. The knot should be completely covered by the collar points (except in a button-down collar, where the points should softly frame the knot).
Part 5: Troubleshooting: Common Tie Disasters
Problem 1: The tie is too short (ends above the belly button).
- Fix: You started with the wide end too high. Next time, drop it down toward your thigh. Also, use a knot that uses less fabric (like the Four-in-Hand or Simple knot).
Problem 2: The tie is too long (ends below the crotch).
- Fix: Start with the wide end higher on your chest. Use a knot that consumes more length (Full Windsor). Alternatively, try The Double Wrap Tuck: After you finish the knot, take the narrow end and wrap it twice around the neck loop before pulling tight. This shortens the overall drop.
Problem 3: The knot is lopsided or has a gap between the knot and the collar.
- Fix: You tied the knot with the neck loop too loosely. You must maintain tension on the narrow end while you maneuver the wide end. If there’s a gap, you didn’t pull the wide end up firmly enough before pulling down.
Problem 4: The narrow end is longer than the wide end.
- Fix: This is a non-starter. Untie it completely. You started with the wide end positioned too high. You must begin again with the wide end significantly lower.
Problem 5: The tie keeps twisting.
- Fix: Ensure you are using the keeper loop. If your tie doesn’t have one, tuck the narrow end into the shirt placket between two buttons. This anchors the tail.
Part 6: How to Untie a Tie (Without Ruining It)
Do not, under any circumstances, simply grab the narrow end and yank it out like you’re starting a lawnmower. This stretches the delicate inner lining, warps the shape of the tie, and causes permanent creases.
The Correct Method: Reverse the steps you took to tie it. Loosen the front loop with your fingers. Pull the wide end back up through the knot gently. Coax it apart rather than ripping it apart. Hang the tie over a hanger or loosely roll it to let the fibers rest.
Part 7: Tie Storage and Travel
- At Home: Untie your tie after every wear. Letting it hang knotted overnight creates a permanent memory crease in the silk.
- Traveling: Never fold a tie in half sharply. Instead, roll the tie loosely from the narrow end up to the wide end (like a cinnamon roll). Place it in a corner of your suitcase or inside a shoe. This prevents crushing.
Part 8: Advanced Knots (For the Enthusiast)
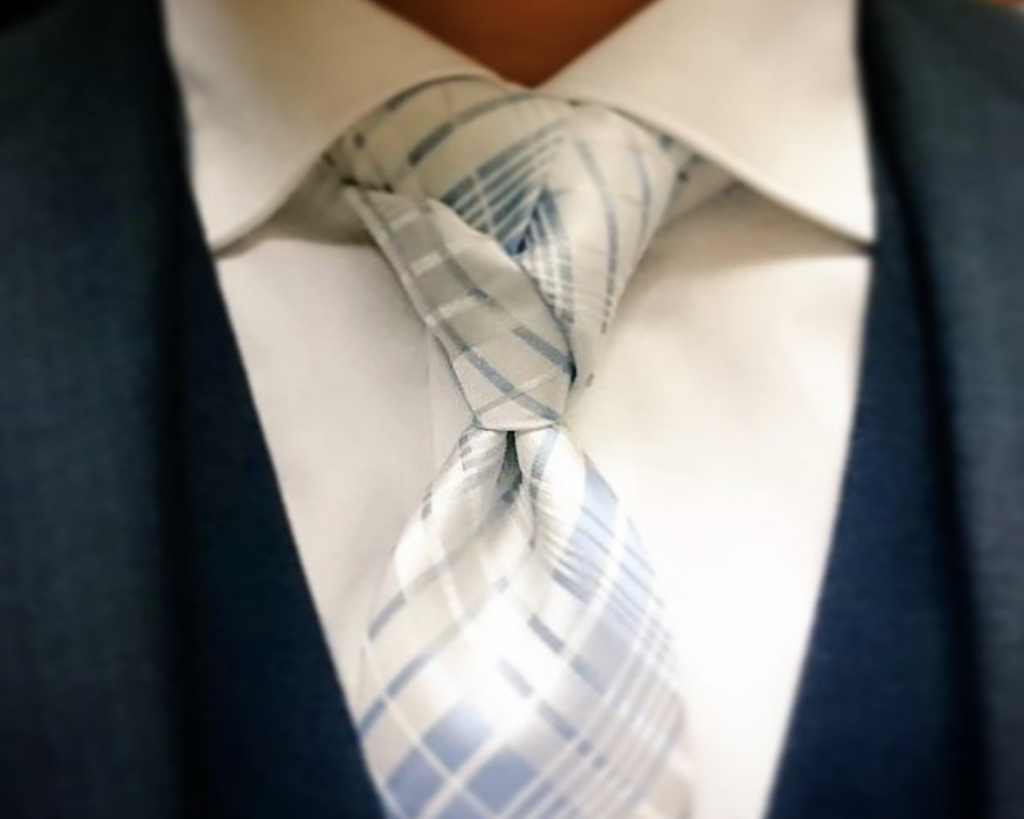
Once you’ve mastered the essentials, you might want to explore these conversation starters. Use them sparingly, okay? They are for cocktail parties and weddings, not job interviews.
- The Eldredge Knot: A braided, architectural knot that uses the narrow end as the active end. It creates a fan or fishtail effect. Best done with a solid-color tie so you can see the intricate weaving.
- The Trinity Knot: A Celtic-inspired knot that creates a three-petal flower shape in the center of the knot. It’s a beautiful, symmetrical design that adds a touch of artistry to formal wear.
- The Balthus Knot: An enormous, dramatic knot created by doubling up the wraps of the Windsor. It is strictly for very wide cutaway collars and very thin silk ties.
Mastering the tie is a rite of passage. It seems daunting, but it is simply a matter of muscle memory. Focus on the Four-in-Hand for your daily life, the Half-Windsor for when you want to look polished without overthinking it, and the Full Windsor for when you need to command the room. And never forget the dimple.
Go practice, get it wrong a few times, get it right, and then get it right consistently until the rabbit going around the tree finally makes complete and total sense.